Windows 11 VM
Create VM
Section titled “Create VM”Right click the node you want to create the VM.
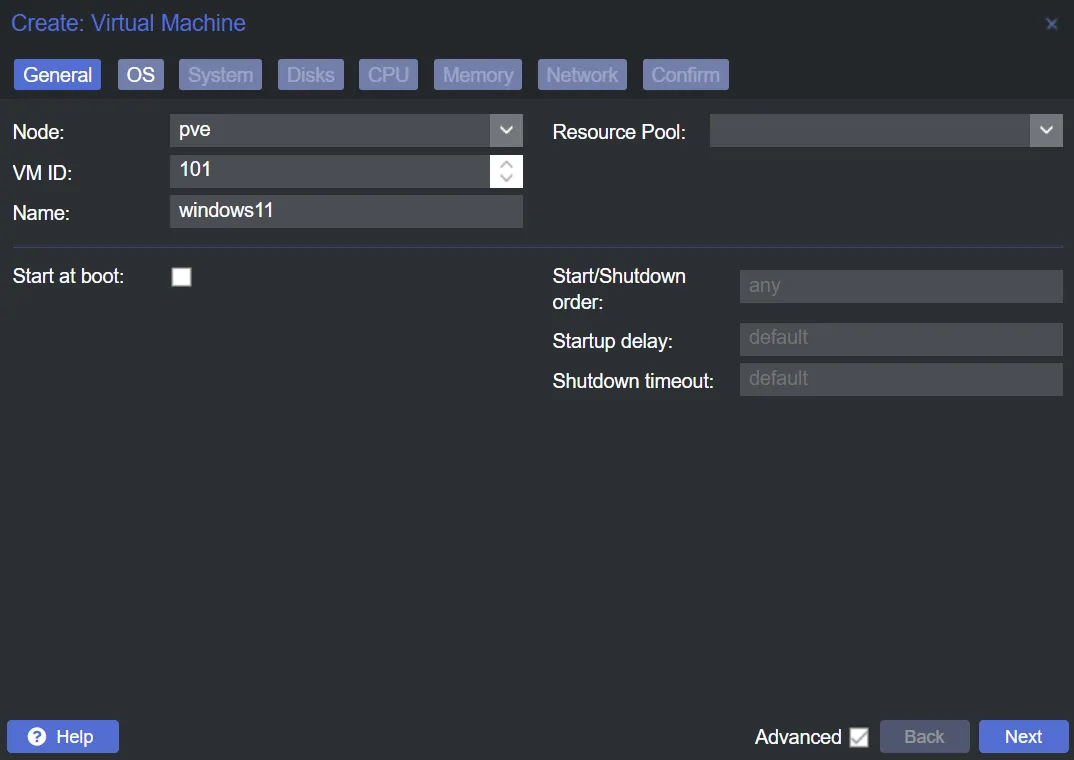
- General:
- Name: Give it a name
- (Optional) Check
Start at boot - Click Next
- OS:
- Storage: Select the storage you have the
WindowsISO - ISO Image: Select the
WindowsISO - Type:
Windows - Version:
11/2022 - Click Next

- Storage: Select the storage you have the
- System:
- Machine:
q35 - BIOS:
OVMF (UEFI) - Check
QEMU Agent - Check
Add TPM - TPM Storage: Select the storage for
TPM - Version:
v2.0 - Check
Add EFI - EFI Storage: Select the storage for
EFI - Click Next
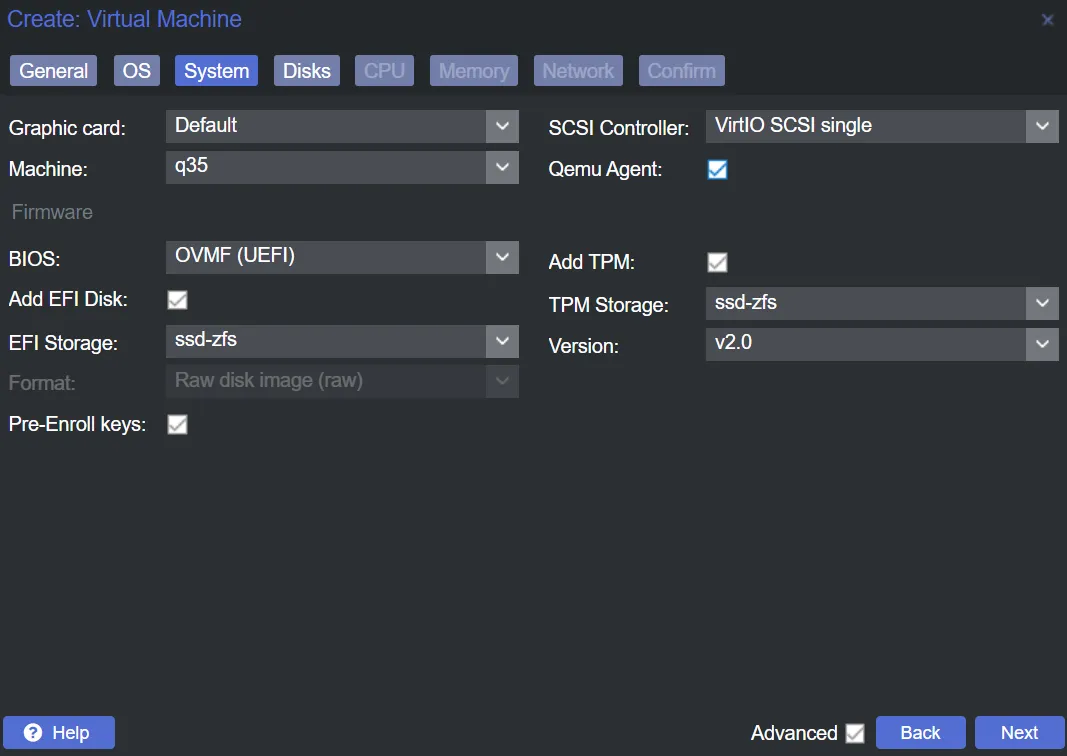
- Machine:
- Disks:
- Bus/Device:
SCSI - Storage: Select the storage for your
Windowsdisk - Check
Discard, if storage supportsThin Provisioning - Disk Size (GiB): Set Disk Size, at least 50GB
- Check
SSD emulation, if you checkedDiscard - Click Next

- Bus/Device:
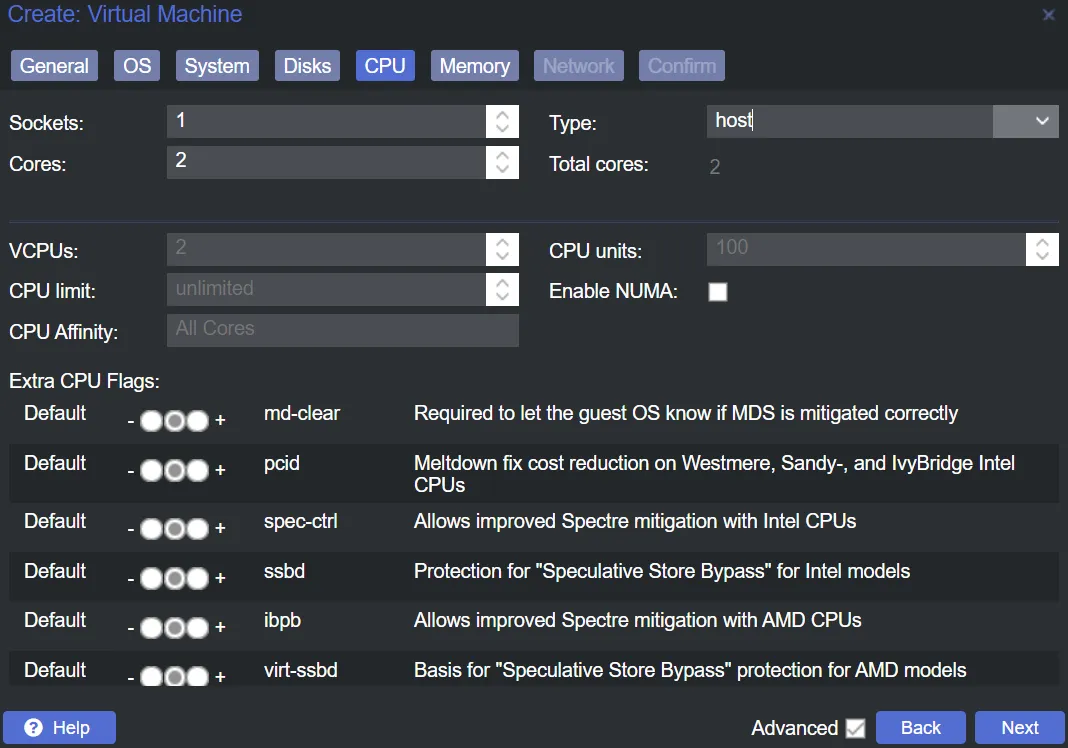
- CPU:
- Cores: Set the core count for the VM to use
- Type: Select
host, if you don’t plan to migrate to another node with a completely different CPU - Click Next
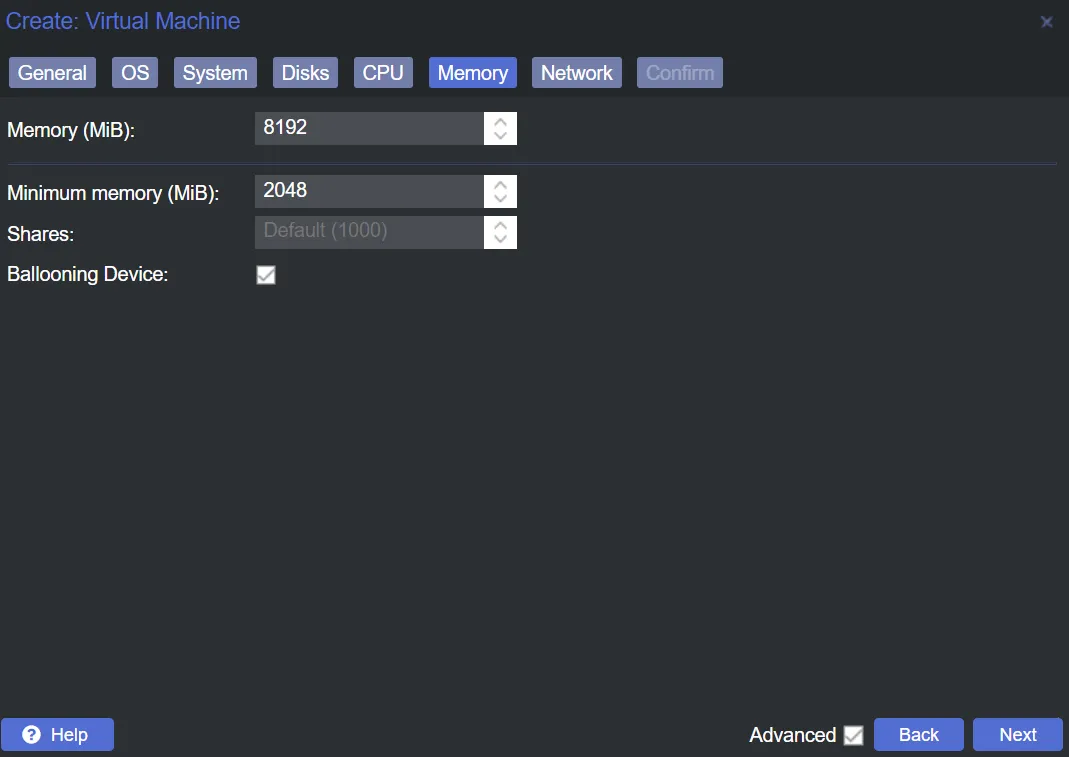
- Memory:
- Memory (MiB): Set the maximum memory for the VM to use
- Minimum memory (MiB): Set the minimum memory for the VM to use
- Check
Ballooning Device - Click Next
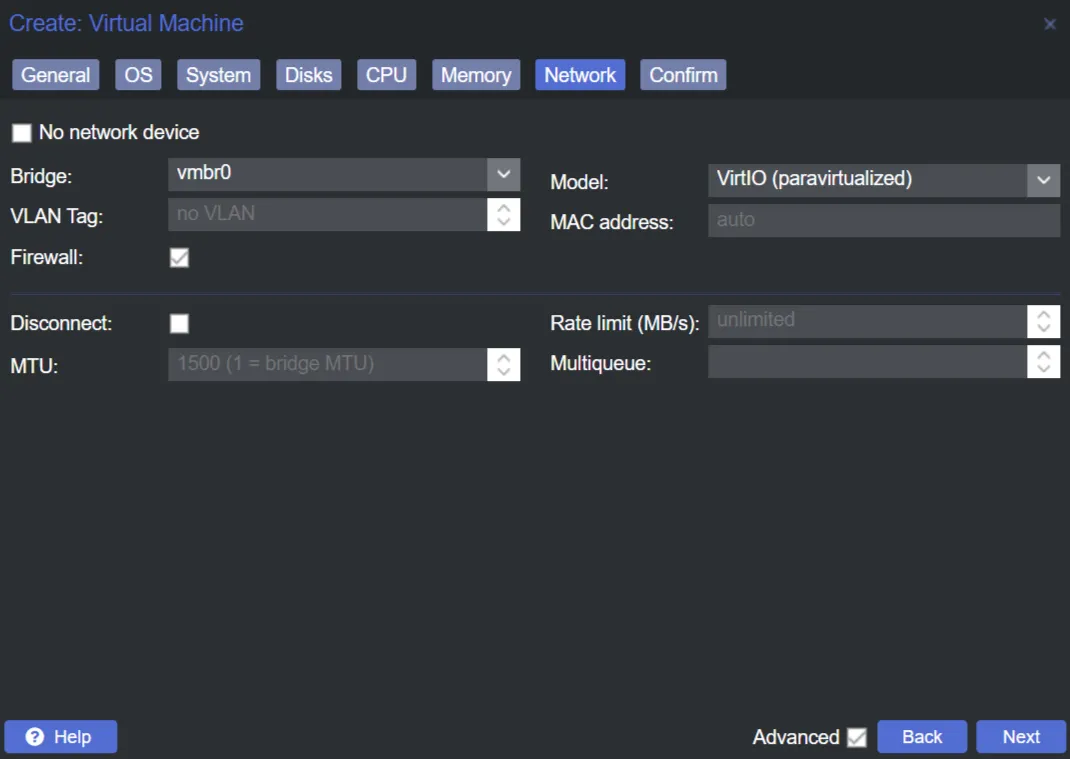
- Network:
- Bridge: Select the NIC bridge for the VM to use
- Model:
VirtIO (paravirtualized) - Click Next
Add VirtIO ISO
Section titled “Add VirtIO ISO”Navigate under the Node -> Select the VM -> Hardware
- Click Add
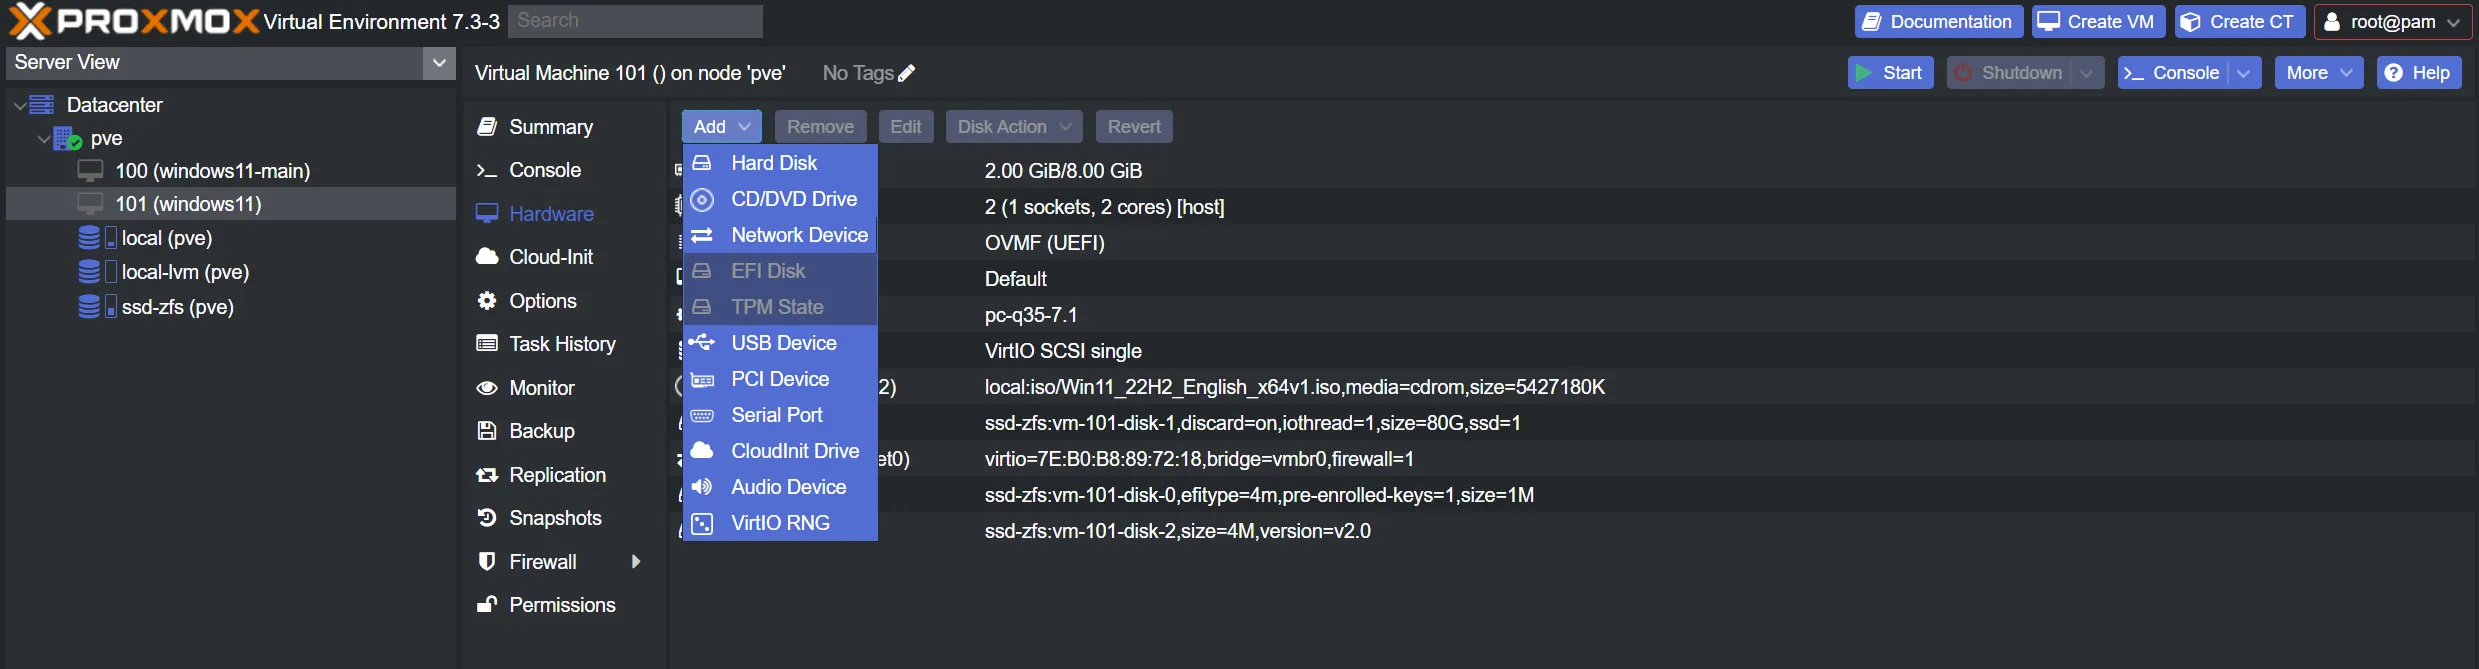
- Click CD/DVD Drive
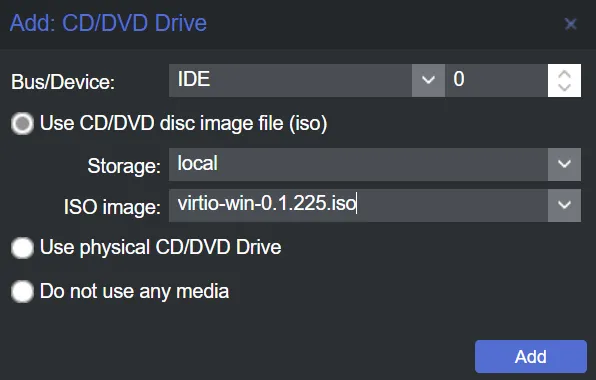
- Storage: Select the storage you have the
VirtIOISO - ISO Image: Select the
VirtIOISO - Click Add
Start Windows VM
Section titled “Start Windows VM”Navigate under the Node -> Select the VM
- Click ▶️ Start
- Click >_ Console
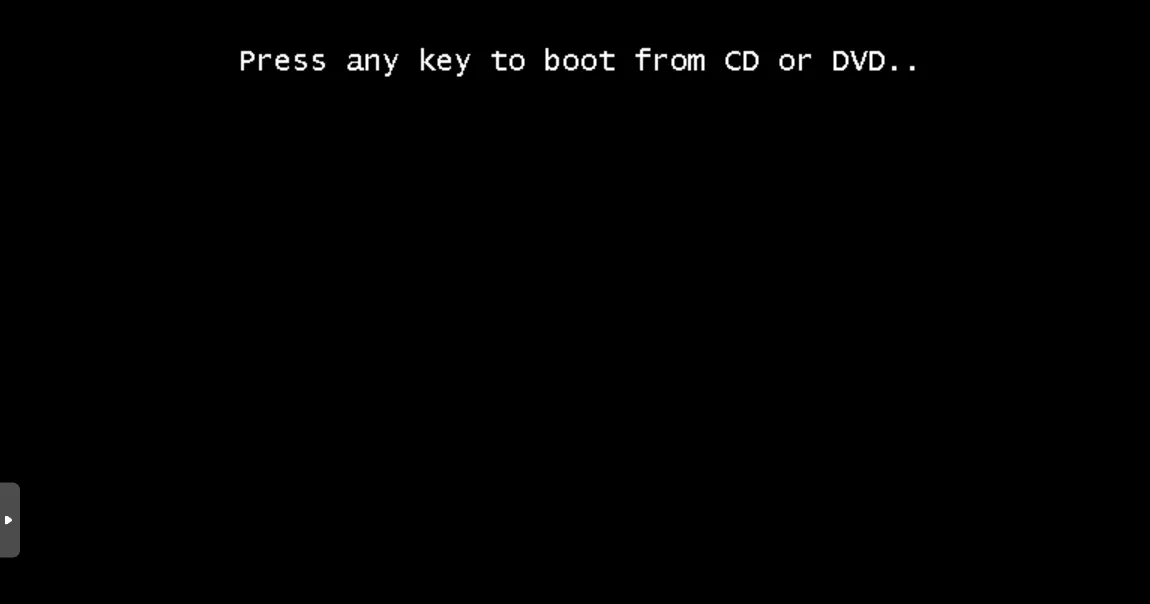
- When the window open, it will ask you to press any key.
- Press any key in your keyboard, eg Space
- Press any key in your keyboard, eg Space
- Select your Language

- Click Next
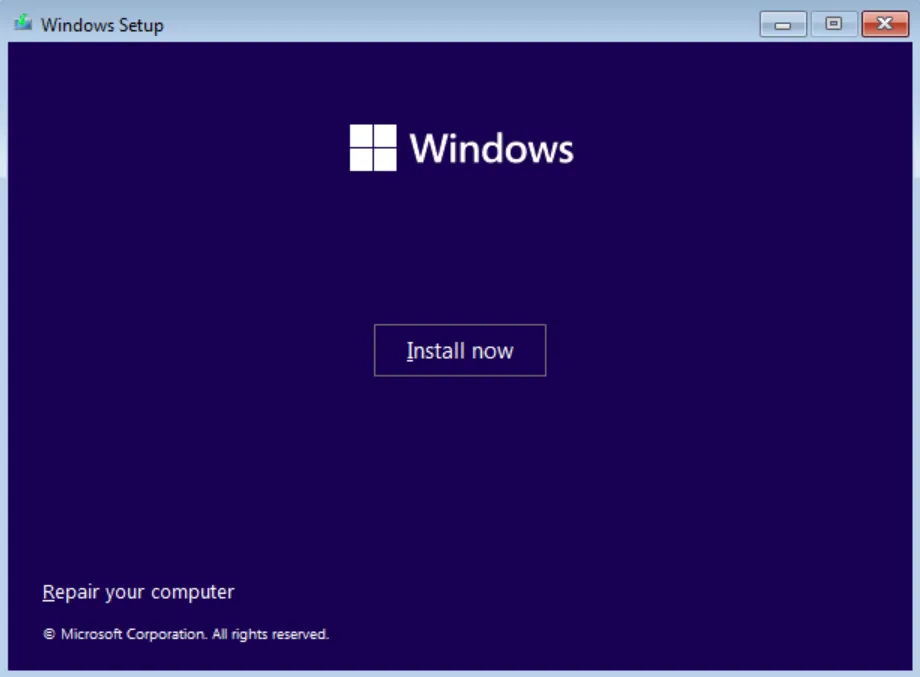
- Click Install now
- Enter your product key or click I don’t have a product key
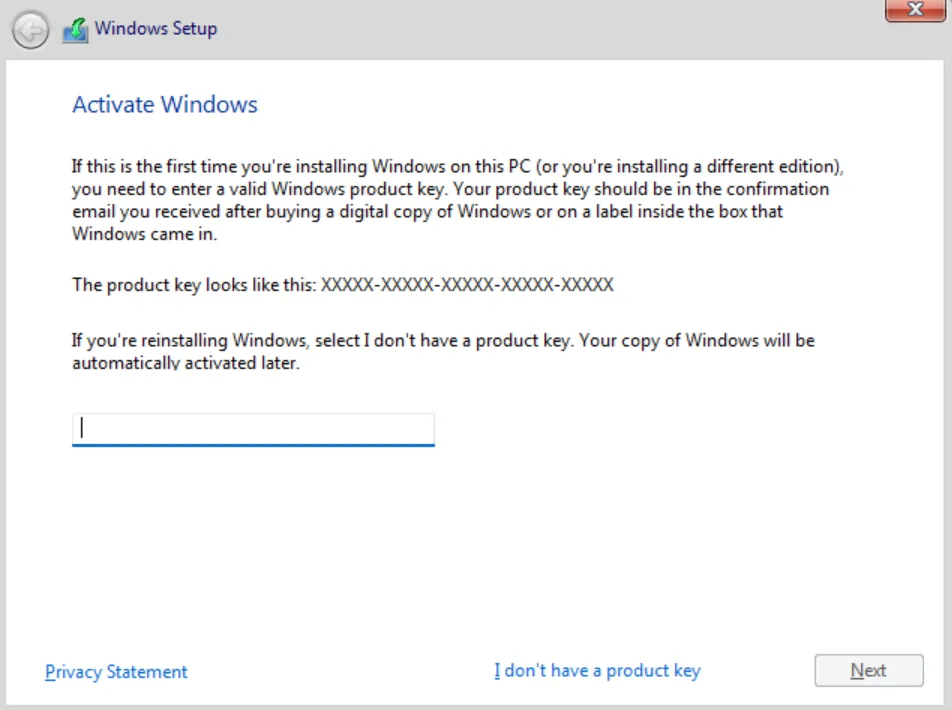
- Click Next
- Select the version you want to install
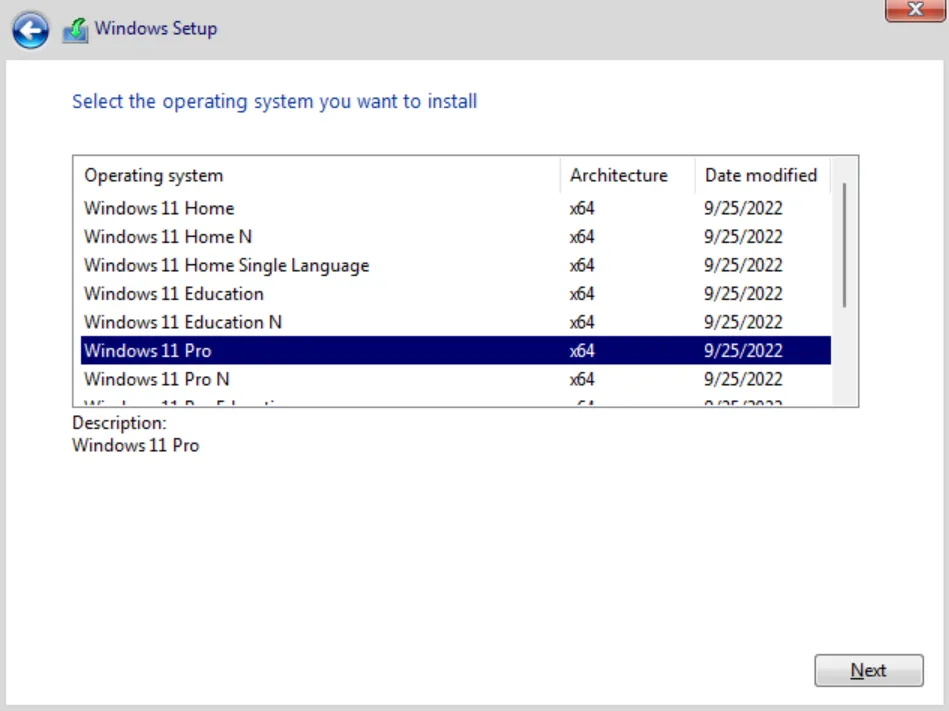
- Click Next
- Check
I accept...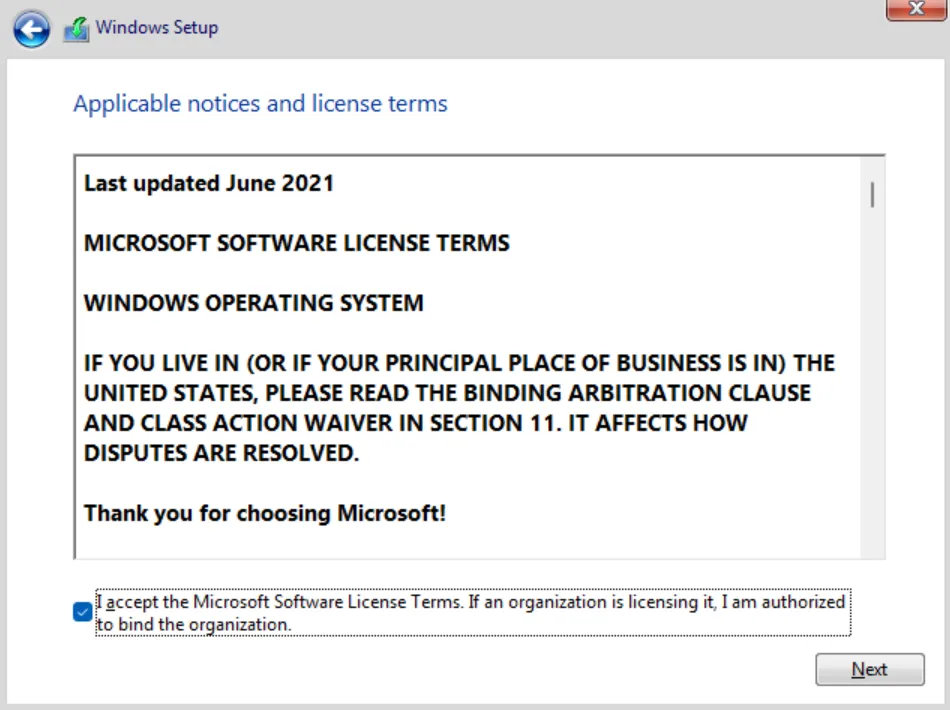
- Click Next
- Select
Custom: Install Windows only (advanced)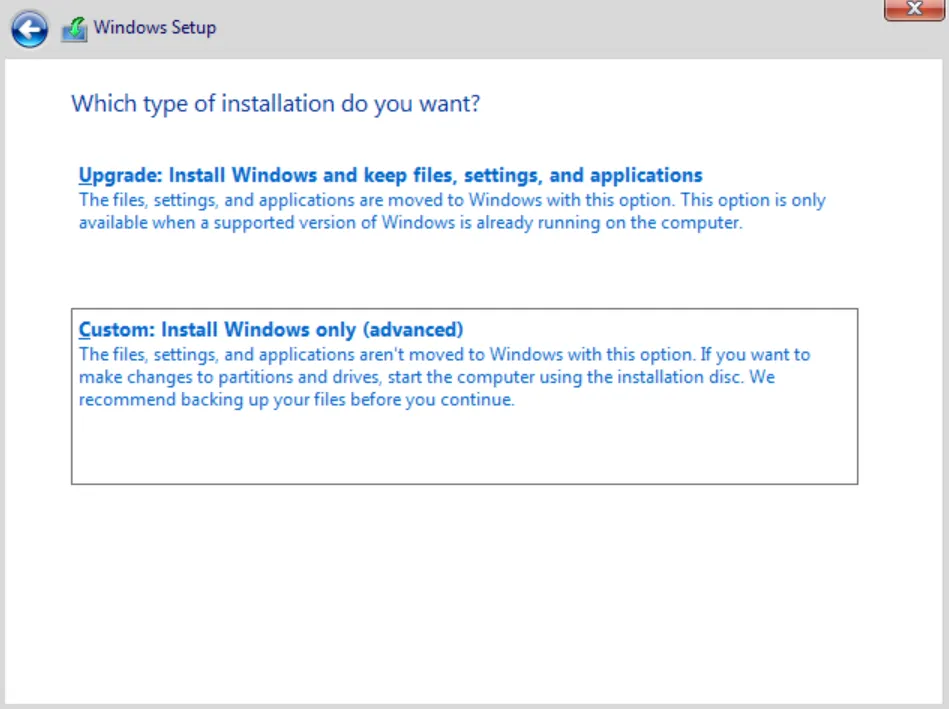
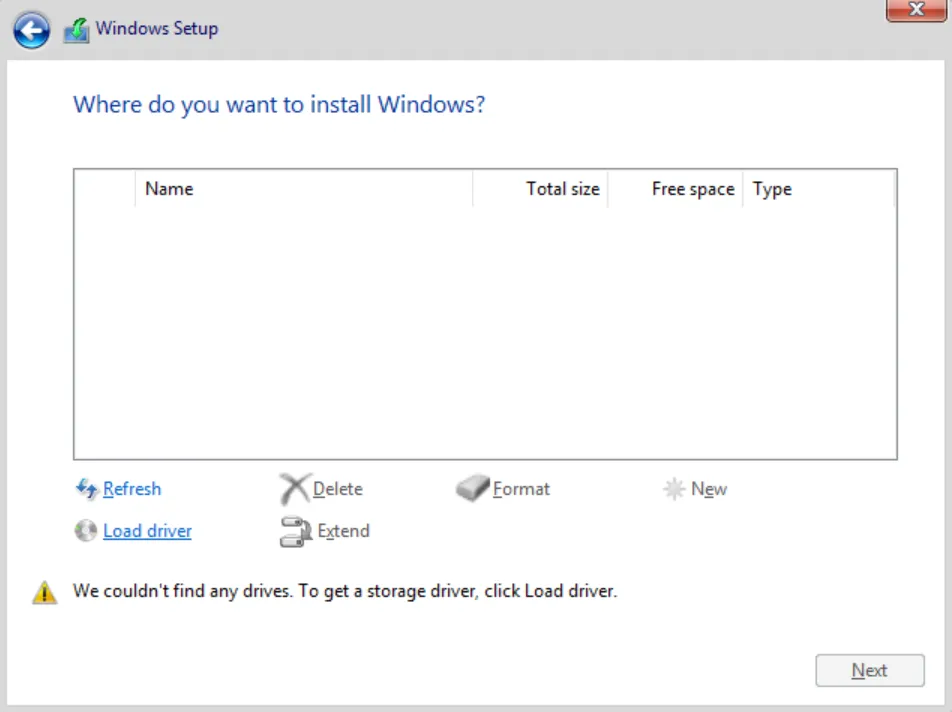
- Click Load Driver
- Click Browse
- Expand
CD Drive (D:) virtio-win - Expand
amd64 - Select
w11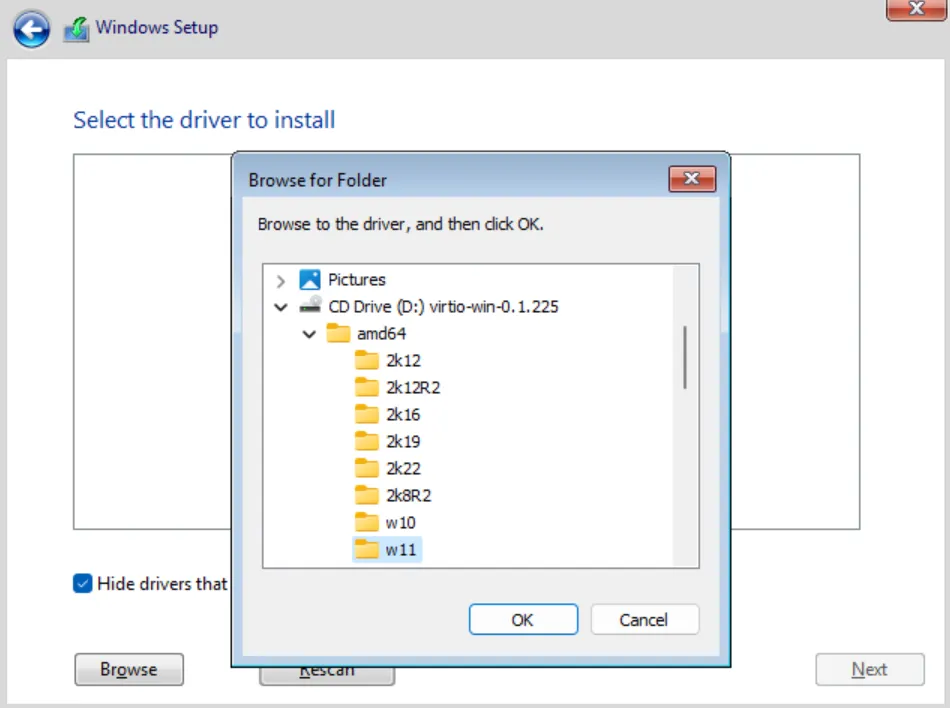
- Click OK
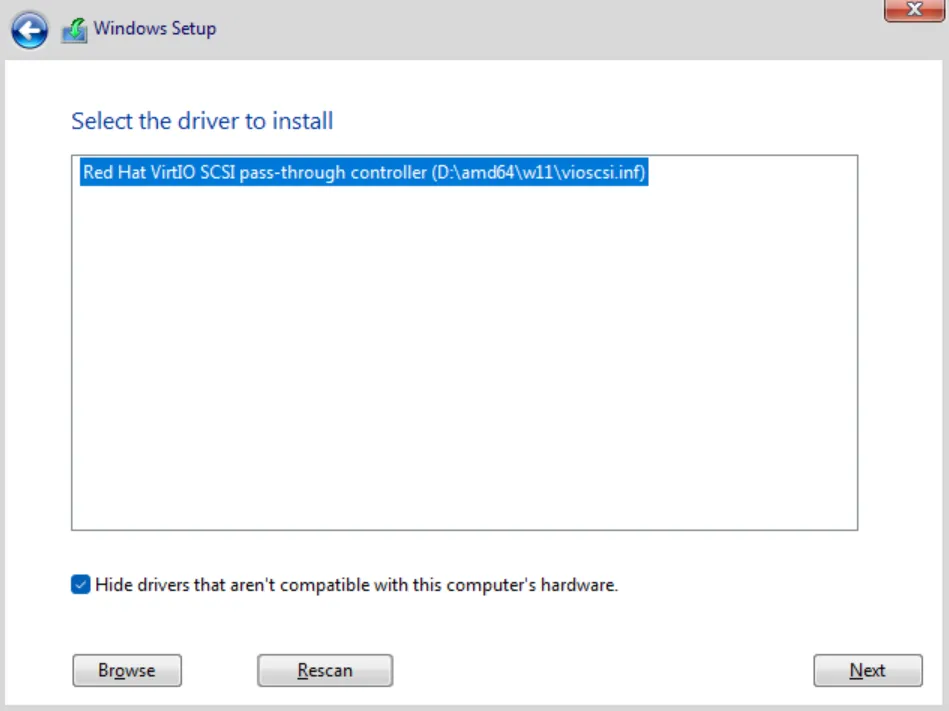
- Click Next
- Click Load Driver
- Click Browse
- Expand
CD Drive (D:) virtio-win - Expand
NetKVM - Expand
w11 - Select
amd64 - Click OK
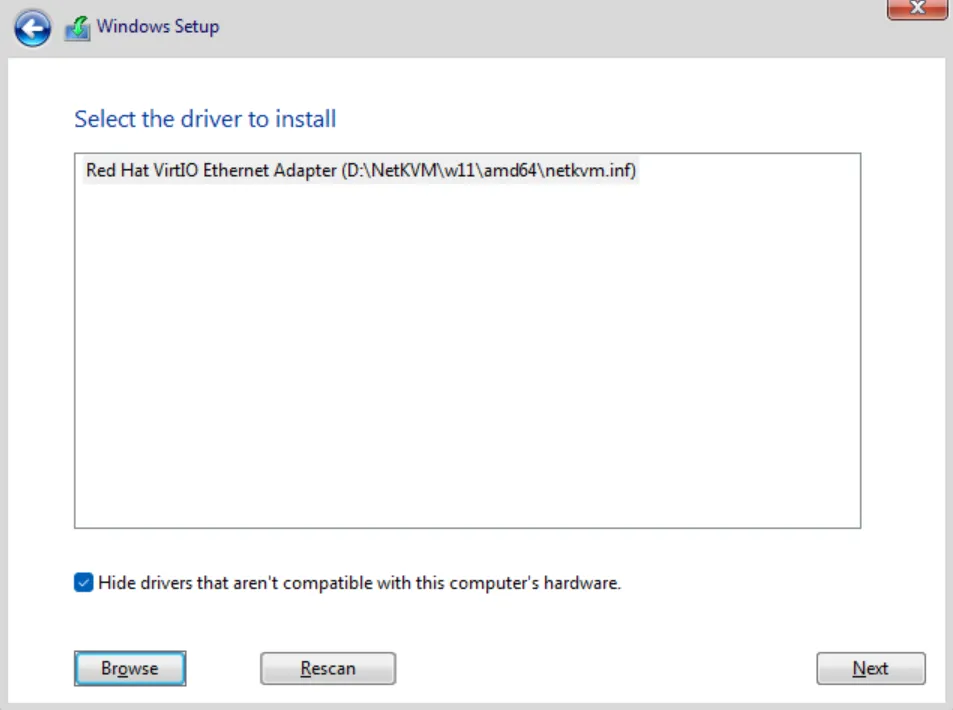
- Click Next
- Select the
Drive 0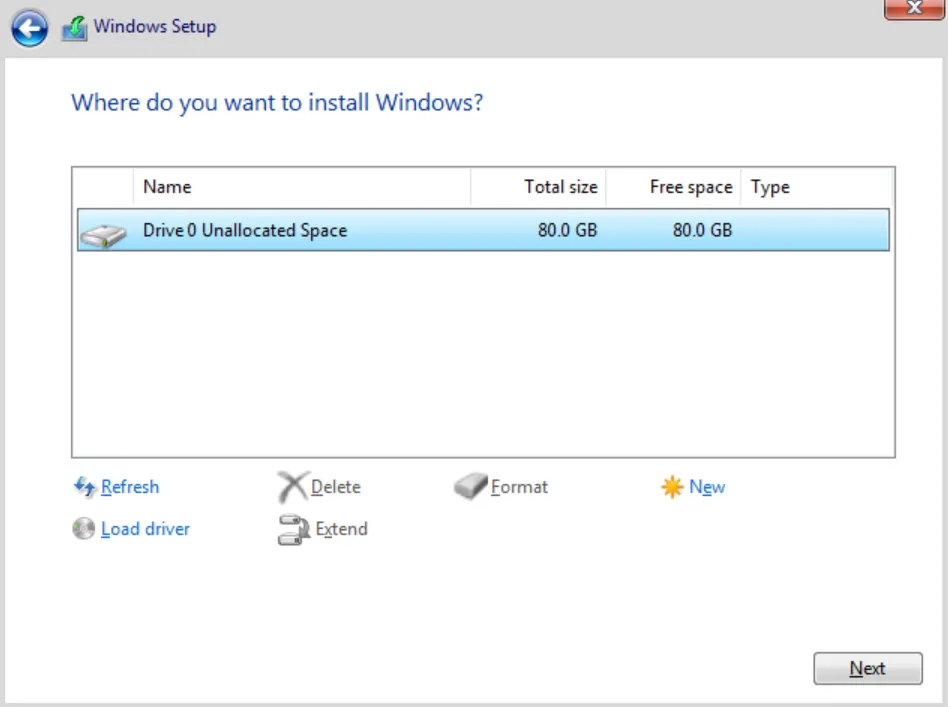
- Click Next
- Wait for installation for finish
- Follow normal on screen installation instructions from
Windows
Complete the driver installation
Section titled “Complete the driver installation”Once you are booted into the Desktop
- Open
This PC - Open
CD Drive virtio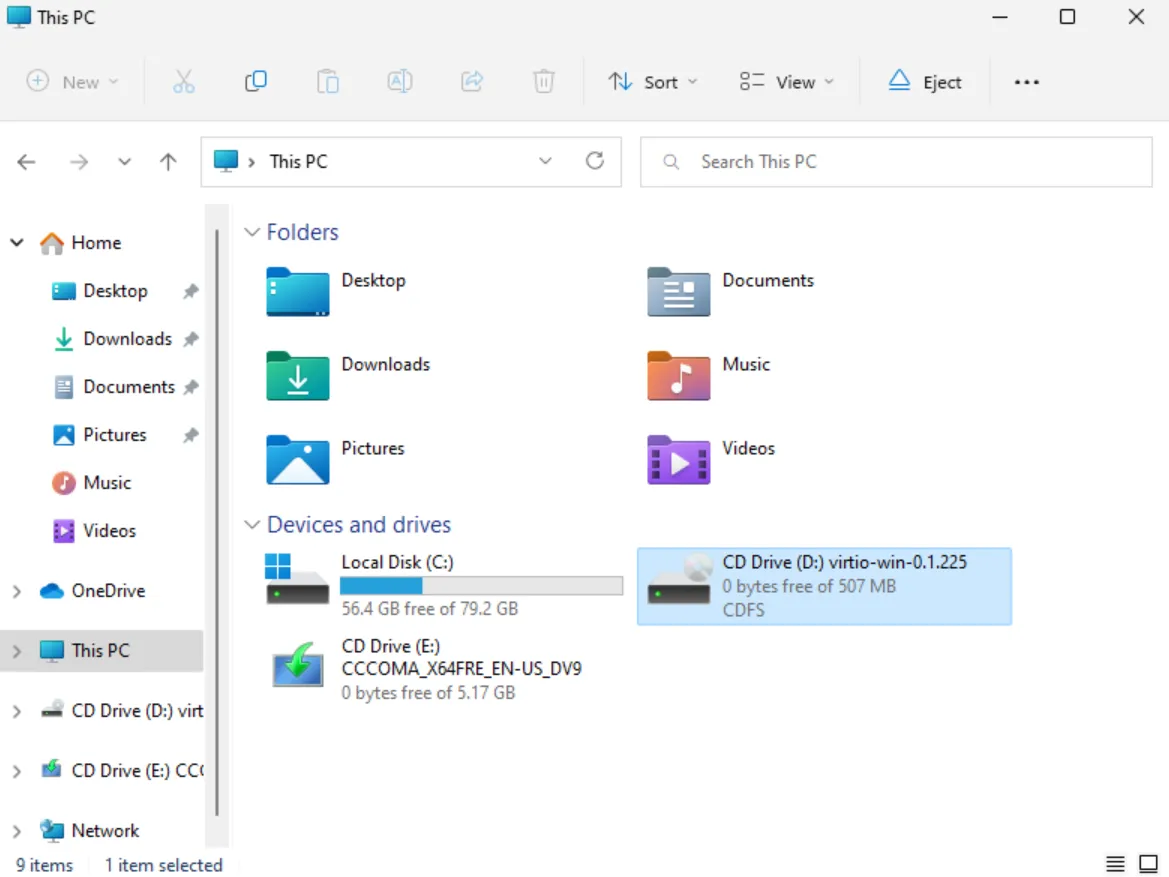
- Double Click
virtio-win-gt-x64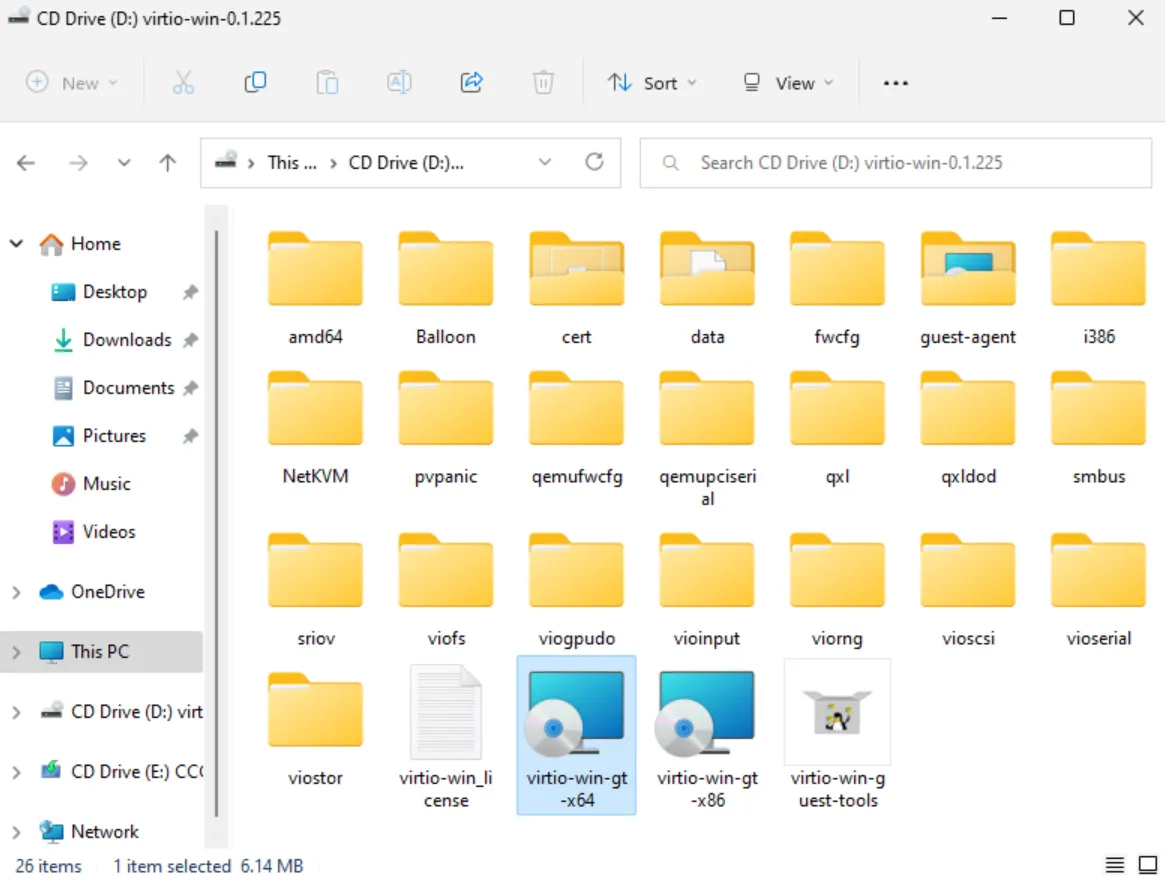
- Click Yes / Next when asked
- Finish Installation
- Open
guest-agentin the same directory - Double Click
qemu-ga-x64
- Click Yes / Next when asked
- Finish Installation
Remove hardware from VM
Section titled “Remove hardware from VM”Shutdown the VM
Navigate under the Node -> Select the VM -> Hardware
- Select
CD/DVD Drive(The one with theWindowsISO)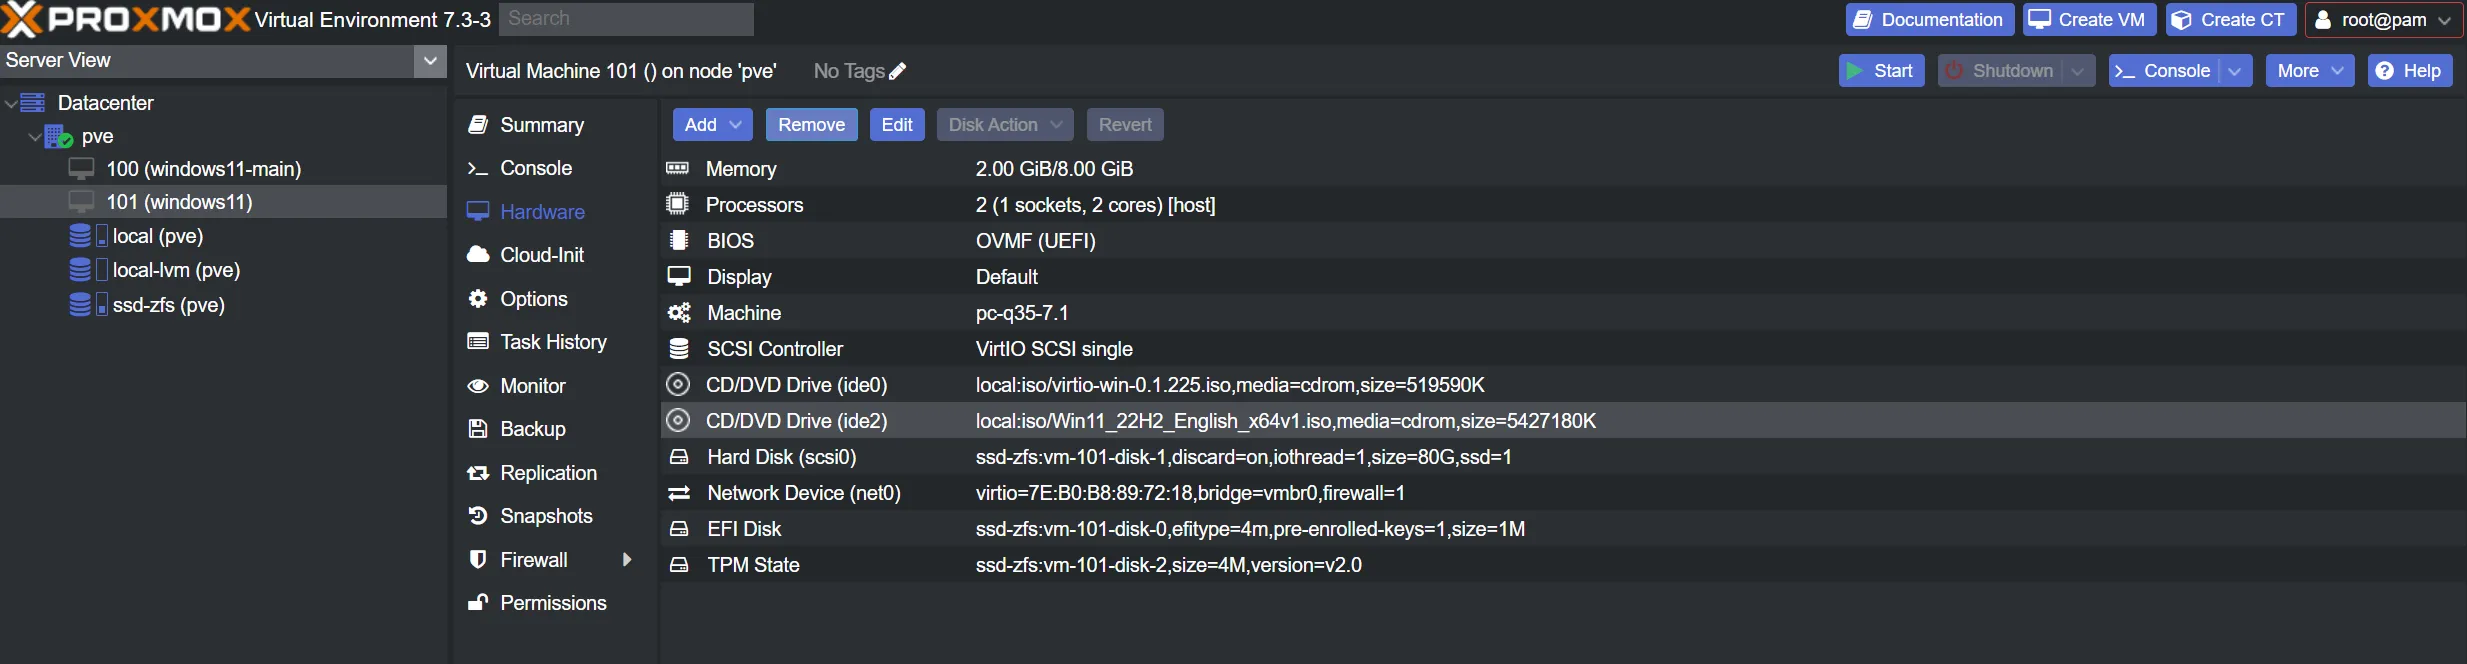
- Click Remove
- Click Yes
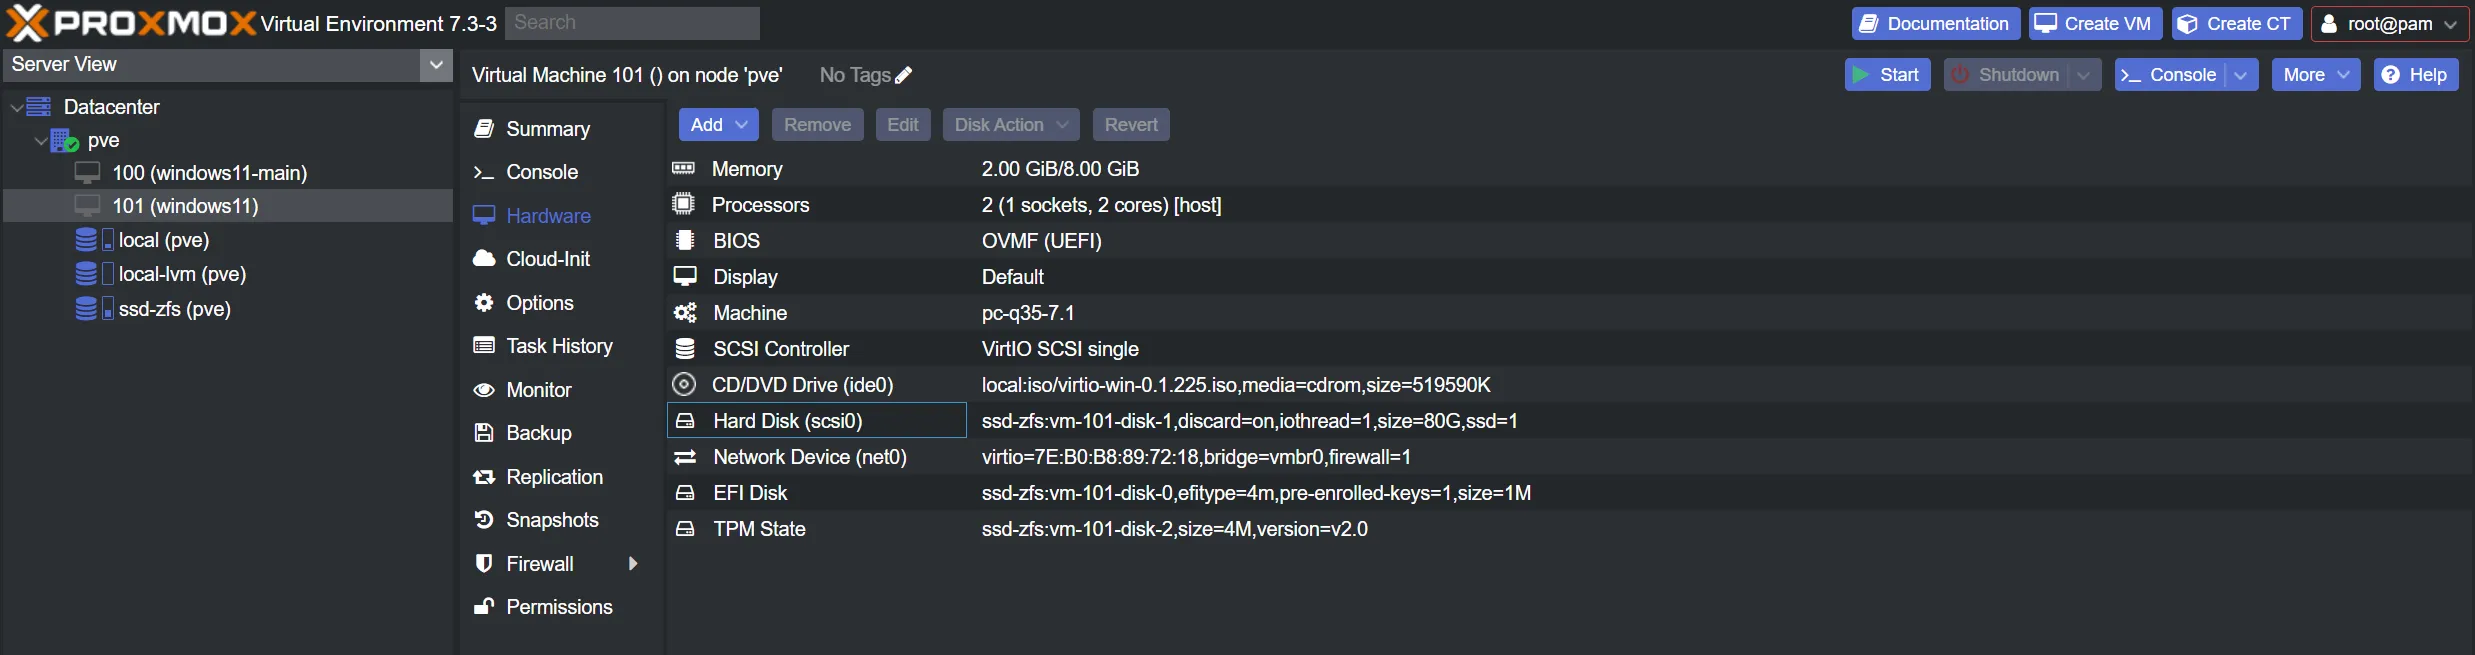
You can now start the VM again.