Setup
This is the first screen you will see after completing the installation.
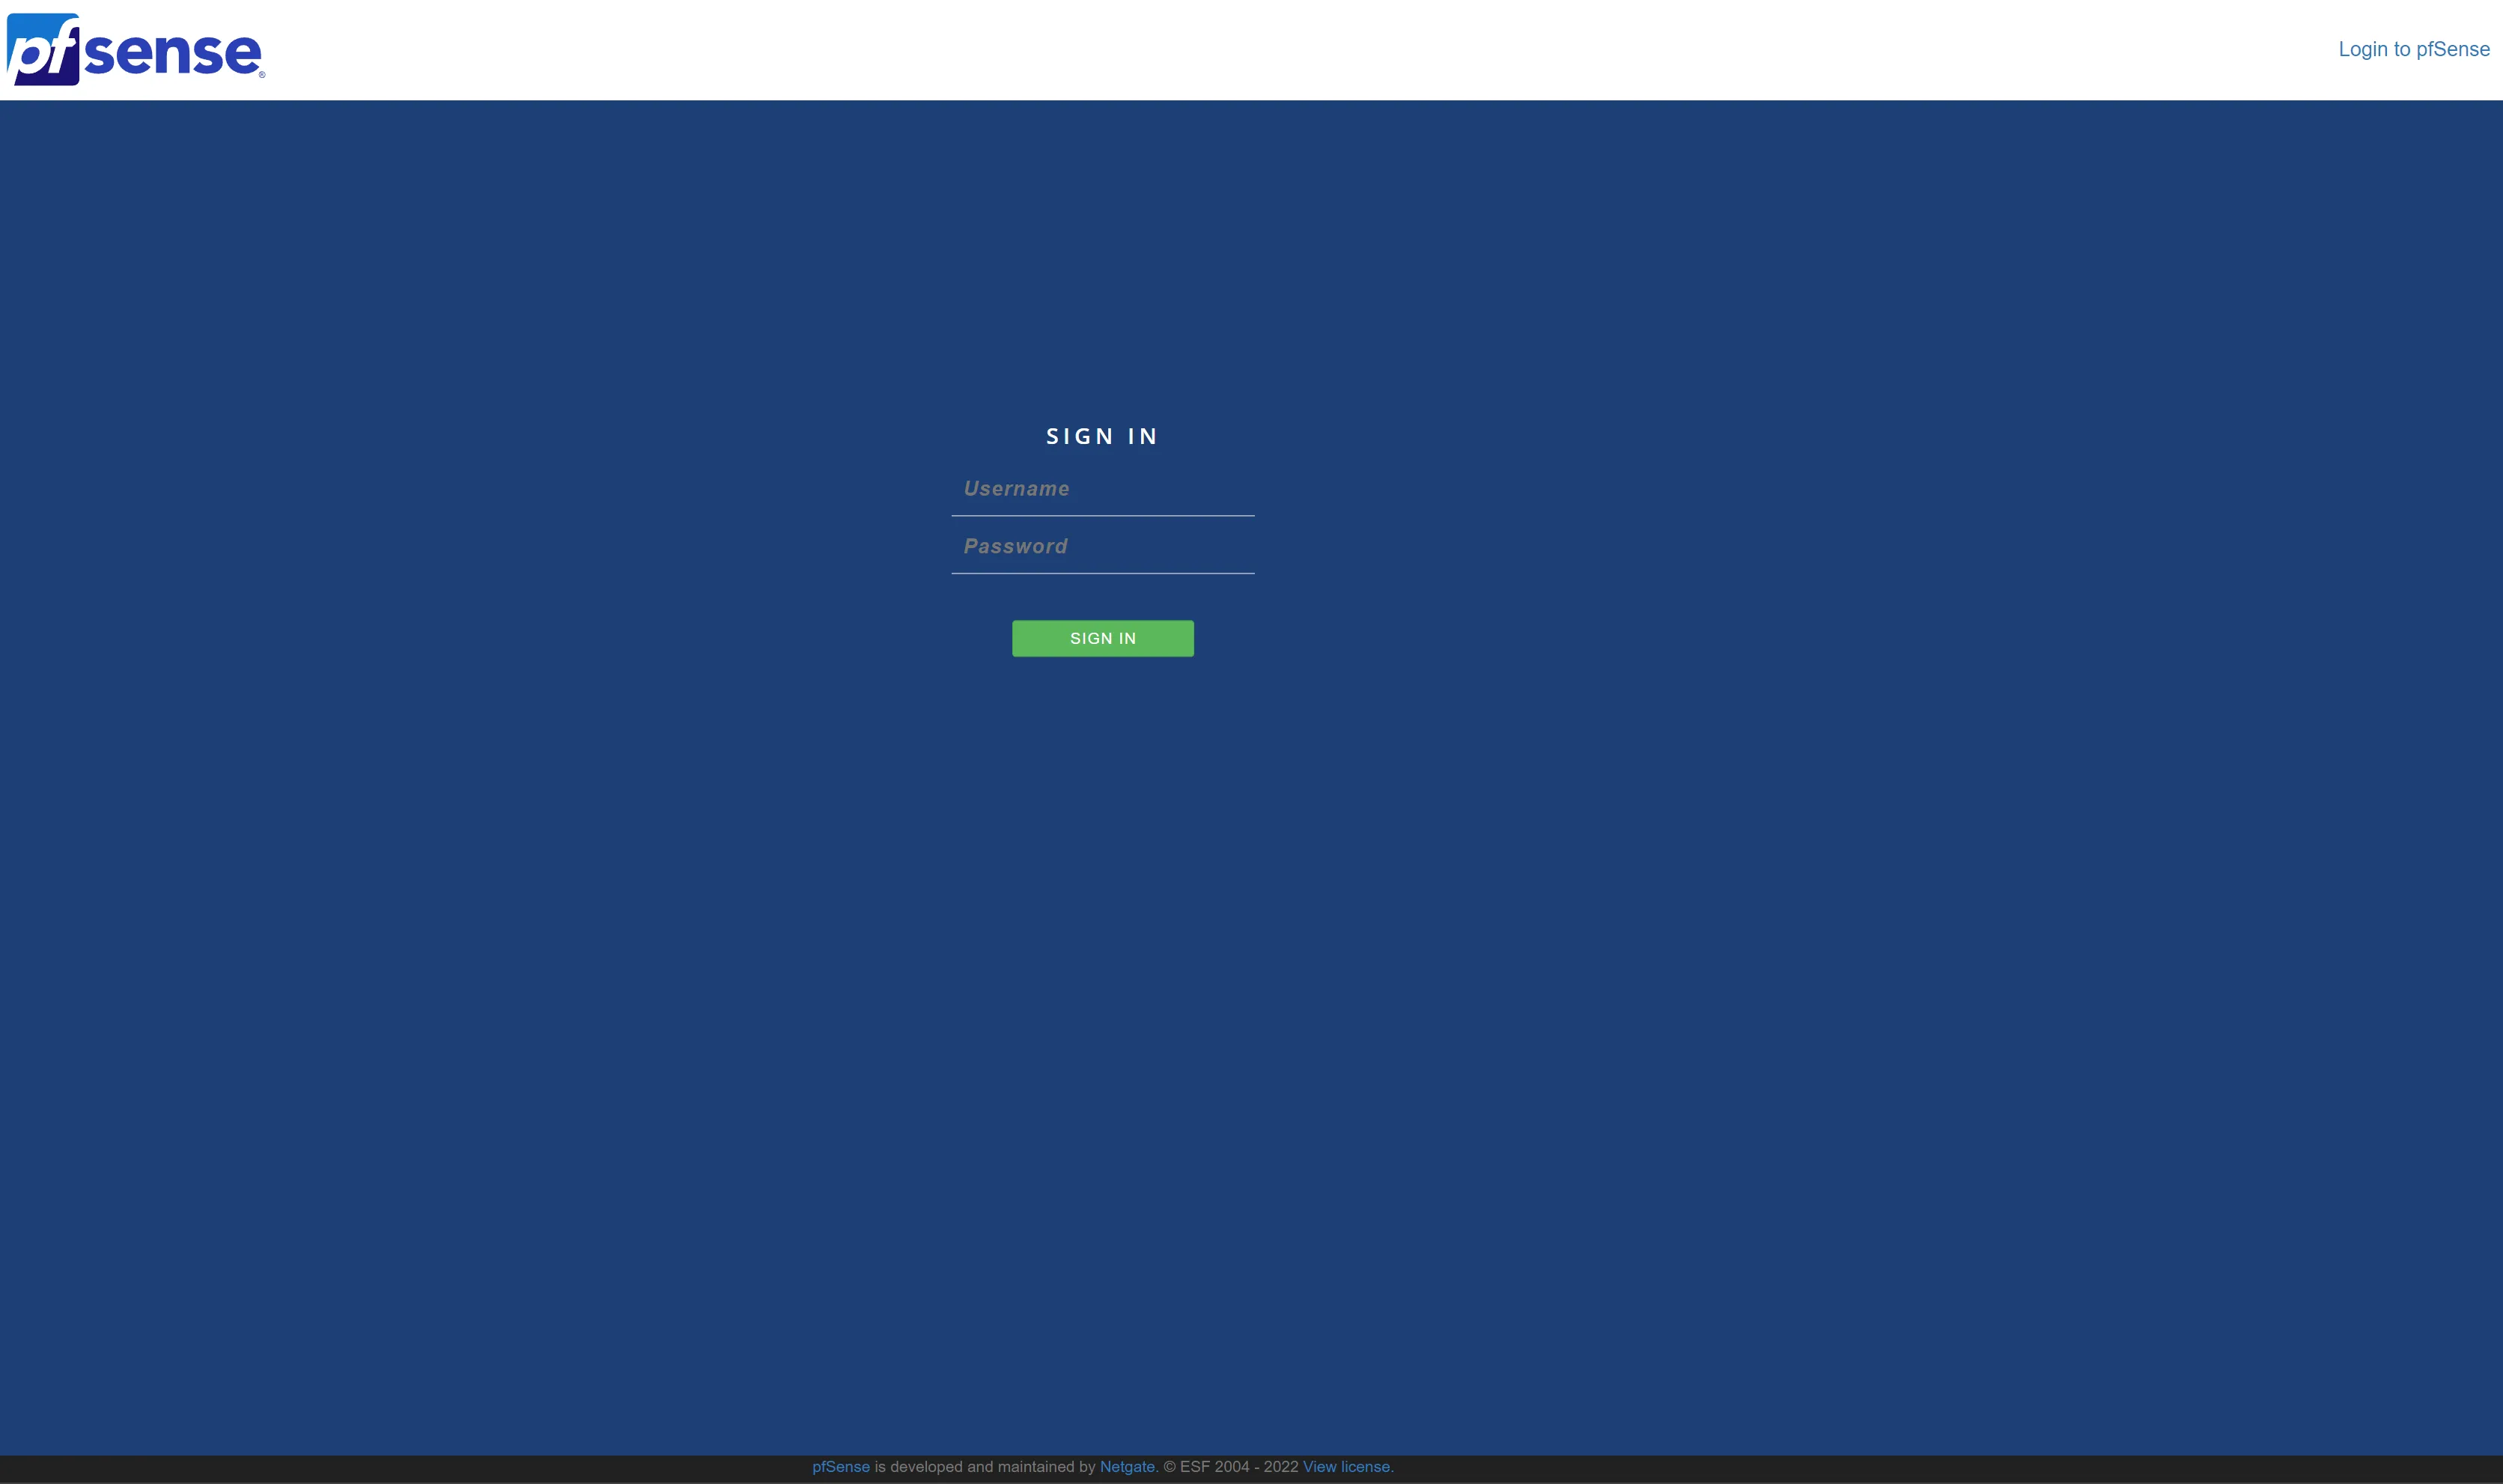
Default credentials are:
Username: admin
Password: pfsense
Once you are logged in you probably will land in the setup wizard. In case you don’t.
Just navigate to System > Setup Wizard
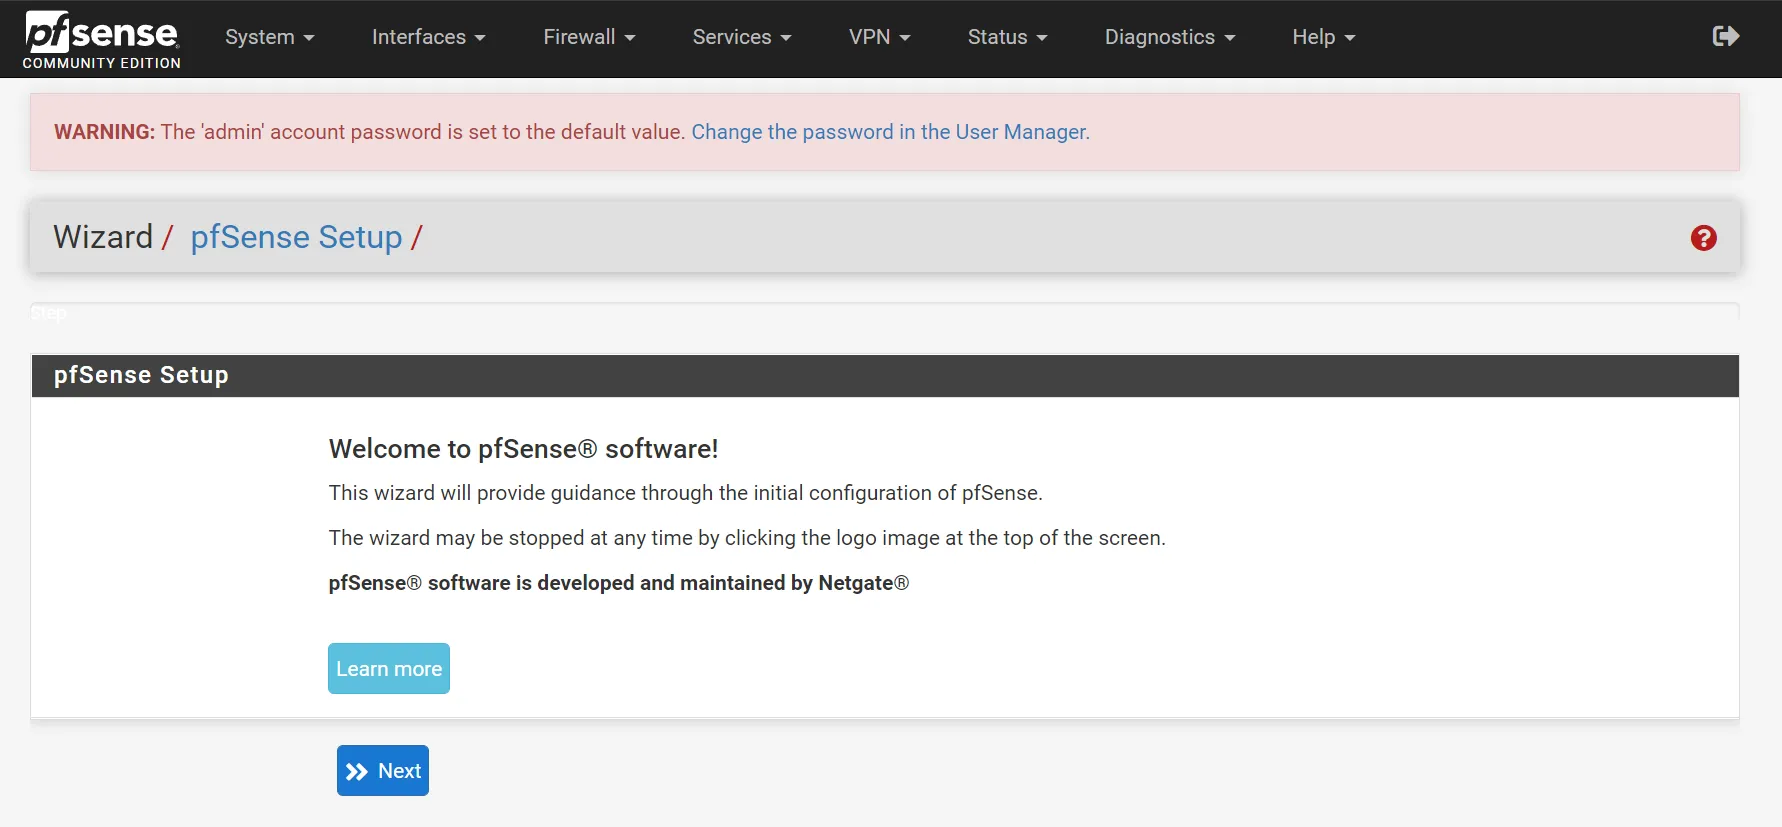
Click Next
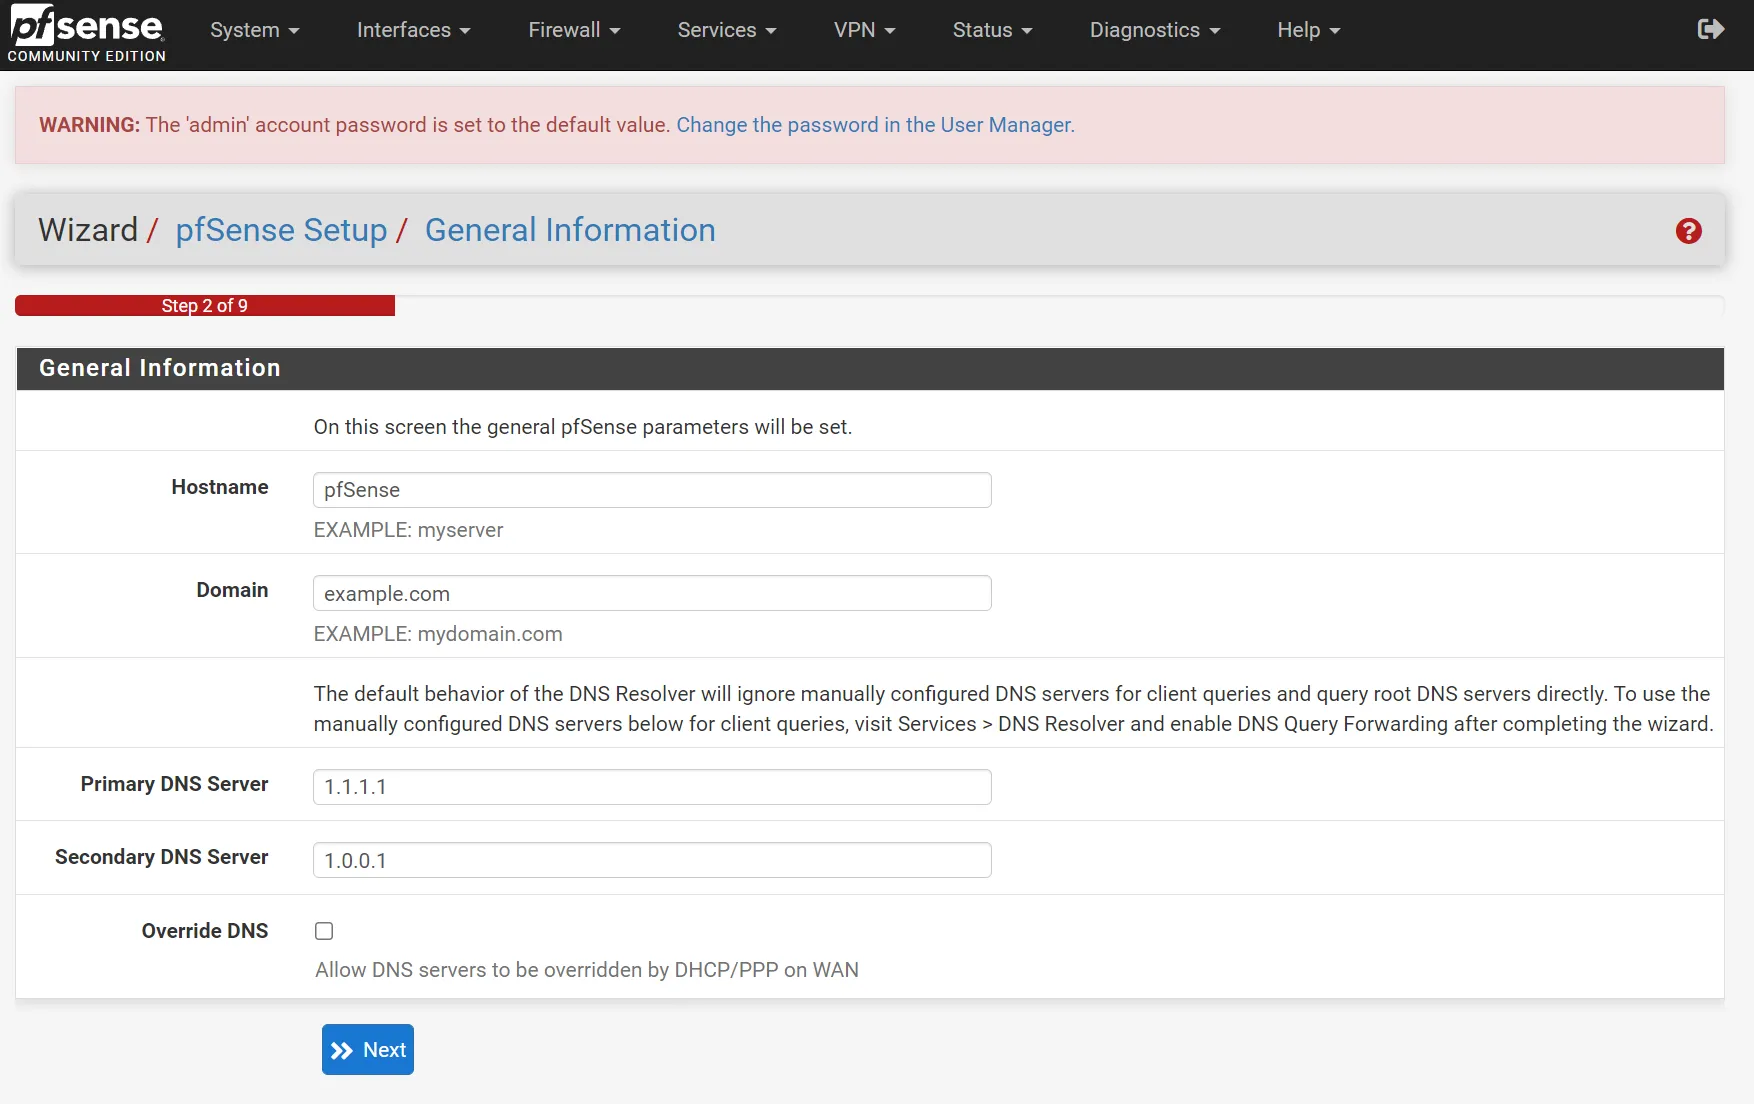
In this screen you can set the Hostname of your pfSense firewall.
If you have a domain, you can type it in the Domain field.
Maybe it will be better to use something like lan.your-domain.com.
So you don’t end up creating conflicts later in your local DNS.
You can use localdomain if you don’t own a domain.
Set a Primary DNS Server and a Secondary DNS Server.
I like to use Cloudflare’s servers.
Also I disable Override DNS so, my ISP’s DNS won’t be used.
(Don’t worry about these settings, you can change them later).
Click Next
There are a few more steps, which is setting up NTP Servers, WAN Interface, LAN Interface, Admin Password.
The defaults should work just fine.
If you have connected pfSense behind your already running modem/router, for WAN you can leave it to DHCP for now.
Don’t forget to set a different Network address than your ISP’s modem/router on LAN interface.
Also remember to set a strong Admin Password.